Signature Pixel & KB Resizer
Set standard presets or manual pixels to compress strictly between 10KB - 20KB.
Select Scanned Signature
(JPG, JPEG or PNG formats)
Resize Image to 10KB to 20KB Signature Size in Pixels: The Complete Guide
If you have ever tried to submit an online government exam form or a job application portal and received an error saying your signature file is too large, you know the frustration. The solution is simple once you understand how to resize image to 10KB to 20KB signature size in pixels with precision. This comprehensive guide walks you through every step, explains why portals enforce these limits, covers all major exam-specific pixel requirements, and shows you the fastest methods to compress and resize your signature correctly — every single time.
What Does "Resize Image to 10KB to 20KB Signature Size in Pixels" Actually Mean?
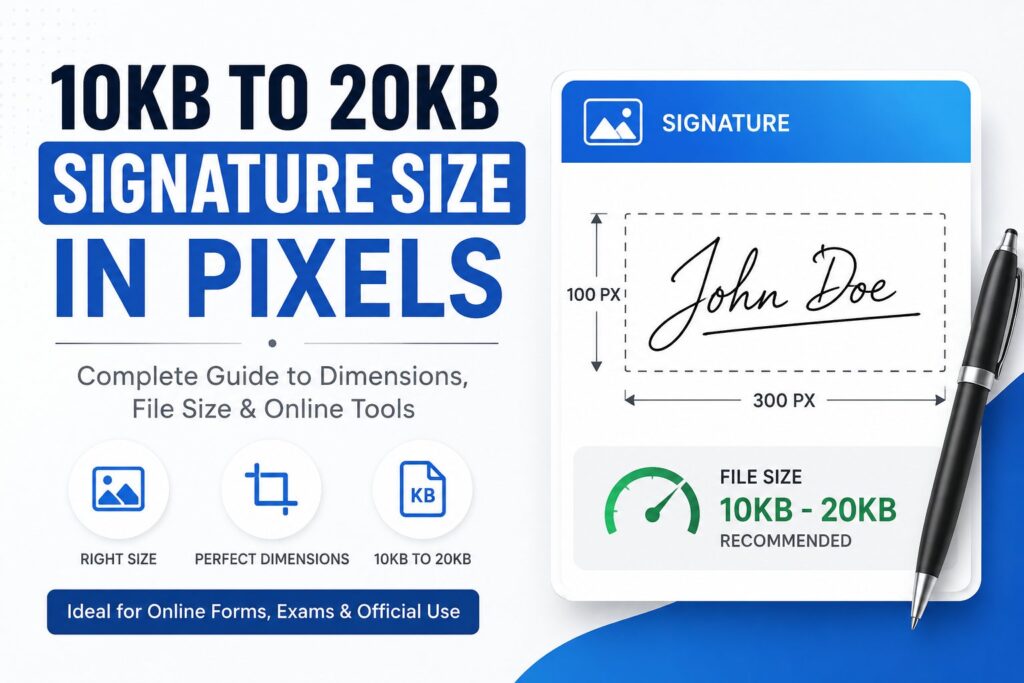
When a form portal asks you to upload a signature between 10KB and 20KB, it is asking you to control two separate things at the same time:
File size (KB): The total weight of the digital image file, measured in kilobytes. Most scanned or photographed signatures are several hundred KB or even a few MB. The portal will reject anything above 20KB or below 10KB.
Pixel dimensions: The width and height of the image measured in pixels. For example, 140×60 pixels or 256×64 pixels. Uploading an image of the wrong pixel size — even if the KB is correct — can cause distorted display or outright rejection.
Achieving both simultaneously is where most people struggle. You cannot simply open Paint, reduce the canvas, and save — the resulting file size may still be well above 20KB. You need a tool or technique that addresses both dimensions and compression together.
Why Government Portals Require Resize Image to 10KB to 20KB Signature Size in Pixels
The 10KB–20KB rule is not arbitrary. There are concrete technical and administrative reasons behind this requirement:
Server storage and processing speed: Recruitment bodies like SSC, UPSC, IBPS, and state PSCs process lakhs of applications. Storing high-resolution files for every applicant is costly and slows down application review systems.
Consistent display on admit cards and hall tickets: Signature images are printed at a fixed size on hall tickets. An oversized image would not scale correctly into the allocated box, making it appear blurred or cropped.
Prevention of fraudulent substitution: Tight pixel dimensions make it harder to substitute one person’s signature with another without visible distortion.
Bandwidth for rural applicants: Many applicants in India fill forms using mobile data. A strict file size limit ensures the portal remains accessible regardless of connection speed.
Understanding these reasons helps you appreciate why the resize image to 10KB to 20KB signature size in pixels requirement exists and why approximation simply does not work — you need to hit the range precisely.
Resize Image to 10KB to 20KB Signature Size in Pixels — Exam-Wise Pixel Requirements
Different recruitment bodies have different pixel specifications. Below is a comprehensive reference table so you know exactly which dimensions to target before you begin.
| Exam / Portal | Width × Height (Pixels) | File Size Limit |
|---|---|---|
| SSC (Staff Selection Commission) | 256 × 64 px | 10KB – 20KB |
| IBPS / SBI Banking Exams | 140 × 60 px | 10KB – 20KB |
| UPSC (Civil Services) | 140 × 60 px | 10KB – 20KB |
| GATE Exam | 560 × 160 px | 5KB – 200KB |
| PAN Card (UTIITSL) | 2×1 inch ratio | 600 DPI, up to 50KB |
| ESIC Portal | 140 × 60 px | Under 20KB |
| NTA / JEE / NEET | 160 × 560 px | 4KB – 30KB |
| State PSC Portals | Varies (usually 140×60) | 10KB – 50KB |
Before you start resizing, always verify the exact dimensions stated on the official portal you are filling out. Portal requirements can be updated, so cross-checking before submission avoids wasted effort.
How to Capture the Perfect Signature Before You Resize
Getting the compression right is only half the battle. The quality of your original captured signature determines how clean the final resized version will look. Follow these steps to get a usable source image:
Use black ink on white paper. A black gel pen or ink pen on plain white A4 paper provides maximum contrast. Blue ink is sometimes rejected by recruitment boards. Ruled or checked paper adds background noise that inflates file size and reduces compression efficiency.
Sign at a moderate size. Your signature should occupy roughly 60–70% of a small area — approximately 3 inches wide and 1 inch tall. Too small and the fine details are lost at 140×60 pixels. Too large and you waste scanner resolution.
Scan at 200–300 DPI. If you have access to a scanner, use it at 200 DPI. Higher DPI produces unnecessarily large source files that take more compression passes to bring down to 10–20KB.
Photograph in good daylight. If using a smartphone camera, ensure no shadows fall across the paper. Hold the camera directly above the signature, not at an angle. Shadows and glare add data complexity that makes compression harder.
Crop tightly before resizing. Remove excess white space around the signature. Leave only a small margin. Excess white space does not compress to zero — it still adds to the file size.
Step-by-Step Process to Resize Image to 10KB to 20KB Signature Size in Pixels Online
The most accessible method for most applicants is using a free online browser-based tool. Here is the general workflow:
Upload your image
Select your scanned or photographed signature file (JPG, JPEG, or PNG). Drag and drop it into the tool's upload area or click to browse.
Select preset or enter custom dimensions
Most tools offer preset buttons such as "256×64 px (SSC)" or "140×60 px (IBPS/UPSC)". If your portal requires a non-standard size, use the manual width and height input fields.
Set target file size range
Choose 10KB as the minimum and 20KB as the maximum. Quality tools will automatically iterate through multiple compression passes to land the final output within this exact range.
Process and preview
Click the resize/compress button and wait a few seconds. A preview of your resized signature should appear. Verify it is sharp, readable, and the ink lines are clear.
Download and verify
Download the output file. Before submitting on the portal, right-click the downloaded file, go to Properties, and confirm the file size falls between 10KB and 20KB. Also open it in an image viewer to confirm the pixel dimensions.
How Quality Tools Achieve Resize Image to 10KB to 20KB Signature Size in Pixels
Not all online tools are equally accurate. Understanding the underlying technique helps you evaluate whether a tool will work reliably.
Canvas resizing: The source image is drawn onto a new canvas set to the exact target dimensions (e.g., 256×64 pixels). This scales the image to the required pixel count regardless of the original dimensions.
White background fill: Before drawing the image, the canvas is filled with a solid white background. This prevents transparent PNG files from being calculated incorrectly during size estimation.
Iterative JPEG compression: The engine converts the canvas to JPEG format and starts at a mid-range quality setting (typically around 0.85). It then measures the resulting file size. If the size is above 20KB, it reduces quality by a small increment and tries again. If the size is below 10KB, it raises quality slightly. This loop repeats up to 10–15 times until the output lands within the 10–20KB window.
High-contrast preservation: Good signature-specific tools prioritize preserving the black ink pixels during compression, since blurring the ink lines makes a signature unidentifiable — even if the file meets the size requirement.
This is why specialized tools consistently outperform generic image compressors for signature resizing. A generic compressor may hit a target file size but sacrifice legibility of thin pen strokes in the process.
Common Errors When You Resize Image to 10KB to 20KB Signature Size in Pixels — And How to Fix Them
Error: “File size must be between 10KB and 20KB” The file you uploaded is either above 20KB or below 10KB. If above, reduce JPEG quality further. If the size falls below 10KB even at high quality, your pixel dimensions may be too small — try a slightly larger canvas size such as 256×64 instead of 140×60.
Error: “Invalid image dimensions” The portal is checking pixel width and height, not just file size. Re-check the exact required dimensions from the official notification and re-process using those precise values.
Error: Signature appears blurry or smudged after download This usually happens when JPEG quality is set too low during compression. Use a tool that targets 10–20KB with higher quality settings rather than one that aggressively reduces quality to hit a file size number. Starting with a higher-resolution source image (scan at 300 DPI) also helps.
Error: Signature appears stretched or squashed The image was resized without maintaining appropriate aspect mapping. If your original signature’s natural proportions do not match the required pixel ratio (e.g., 256:64 = 4:1 ratio), the output will look distorted. Crop your original image to approximately the same aspect ratio before resizing.
Error: PNG file exceeds size limit after resizing PNG uses lossless compression, meaning it cannot compress as aggressively as JPEG. For signature resizing to the 10–20KB range, always save as JPEG. Convert any PNG source files to JPEG during the resizing step.
Resize Image to 10KB to 20KB Signature Size in Pixels Using Desktop Software
If you prefer working with offline tools, two widely used options are Microsoft Paint and Adobe Photoshop.
Microsoft Paint (Windows — Free): Open your signature image. Go to the Resize option in the Home tab. Enter the target pixel width and height. Save as JPEG. After saving, check the file size. If it exceeds 20KB, re-open the file and use Save As > JPEG with lower quality. Repeat until the size falls in range. This method requires trial and error.
Adobe Photoshop: Go to Image > Image Size. Enter the exact target dimensions. Set resolution to 72 DPI for screen use. Go to File > Export > Save for Web. Select JPEG format. Use the Quality slider to adjust until the estimated size shown at the bottom of the dialog falls between 10KB and 20KB. Photoshop gives real-time size feedback, making it one of the most precise offline methods.
GIMP (Free and Open Source): Open your image and go to Image > Scale Image. Enter the target pixel dimensions. Then File > Export As > Select JPEG. In the export dialog, reduce quality until the file size estimation meets the 10–20KB requirement. GIMP shows a live estimated file size as you adjust quality, similar to Photoshop.
For most applicants, online tools are faster and require no installation. But for those who process large volumes of applications — such as institute administrators or cyber café operators assisting students — desktop software offers more consistent batch control.
Best Practices Every Time You Resize Image to 10KB to 20KB Signature Size in Pixels
Following a consistent checklist every time you process a signature file eliminates mistakes:
Always read the official notification PDF for the exam or portal before starting. Pixel dimensions and file size limits are listed in the “How to Apply” or “Documents Required” section.
Always use the exact dimensions stated, not approximations. A 141×61 pixel image instead of 140×60 pixels can trigger a validation error on strict portals.
Always verify the final file by right-clicking it on your desktop and checking Properties > Details for both pixel dimensions and file size before uploading.
Always keep a backup of your original high-resolution scanned signature. You may need to re-process it for a different portal with different requirements.
Always test the download link before the form submission deadline. Some portals require the uploaded signature to be viewable by preview — check this before the last hour of the deadline.
Resources for Signature Resizing
The following authoritative resources provide additional guidance and free tools for signature compression:
- The official SSC recruitment portal publishes updated image specifications for every examination notification under the “Instructions” section.
- IBPS official website lists exact signature pixel and KB requirements in every CRP cycle notification PDF.
- Adobe’s Photoshop Save for Web guide covers JPEG compression quality settings in detail for users who prefer desktop software.
- The National Informatics Centre (NIC) provides technical guidelines for document uploads on government e-services portals.
Always cross-reference any tool you use against the specifications published directly by the recruiting organization. Third-party tools are helpful for processing, but the final word on dimensions and file size comes from the official notification.
Why a Browser-Based Tool Is the Fastest Way to Resize Image to 10KB to 20KB Signature Size in Pixels
For the overwhelming majority of applicants — students, job seekers, exam candidates — a browser-based signature resizer is the most practical option. Here is why:
No software installation is needed. You can use the tool from any device including a smartphone, tablet, laptop, or cyber café computer.
Preset dimension buttons for SSC, IBPS/UPSC, and other major exams eliminate the guesswork of entering pixel values manually.
Iterative compression algorithms handle the 10–20KB range automatically without requiring you to understand JPEG quality settings.
The entire process — upload, resize, preview, download — takes under 30 seconds for most signature images.
Privacy is maintained because reputable tools process images locally in your browser or delete server copies within minutes.
The tool embedded on this page supports both the standard SSC preset (256×64 pixels) and the IBPS/UPSC preset (140×60 pixels), as well as fully custom width and height inputs for any non-standard portal requirement. Simply upload your scanned signature, select your preset or enter custom dimensions, and click Resize and Compress. The tool performs automatic iterative JPEG compression to keep the output strictly between 10KB and 20KB.
Conclusion: Master the Process to Resize Image to 10KB to 20KB Signature Size in Pixels
Successfully completing a government exam or job application form requires attention to many small technical details — and the signature upload is one of the most commonly failed steps. Knowing how to resize image to 10KB to 20KB signature size in pixels correctly means understanding that file size and pixel dimensions are two separate controls that must be managed simultaneously.
Start with a clean, high-contrast scan on white paper. Crop tightly. Use a tool that applies iterative JPEG compression to land the output within the 10–20KB window at the exact pixel dimensions required by your target portal. Verify the final file before uploading. Keep your original scan as a backup.
With the right process and the right tool, resize image to 10KB to 20KB signature size in pixels becomes a reliable, repeatable task that takes less than a minute — so you can focus on what actually matters: your application.